

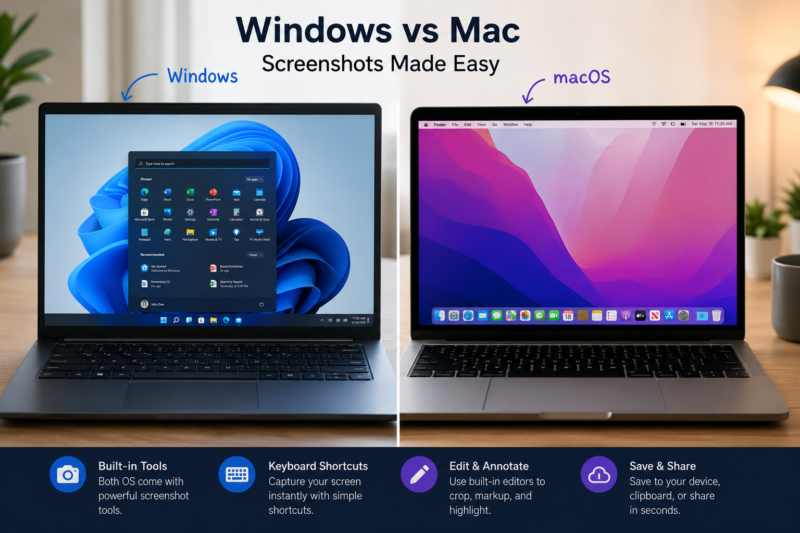
Knowing how to screenshot on Windows and Mac is one of the most useful computer skills you can learn. Whether you’re saving important information, reporting a software issue, sharing something with friends, or creating tutorials, screenshots help you capture exactly what’s on your screen in seconds.
The good news is that both Windows and macOS include powerful screenshot tools built right into the operating system. You don’t need expensive software to capture, edit, and share screenshots effectively.
Why Knowing How to Screenshot on Windows and Mac Saves Time Every Day
Screenshots are useful for:
- Saving receipts and confirmations
- Reporting technical issues
- Creating tutorials
- Sharing conversations
- Capturing online content
- Documenting work processes
- Recording important information quickly
Instead of copying and pasting text, a screenshot preserves everything exactly as it appears.
Quick Answer: Fastest Ways to Screenshot on Windows and Mac
Fastest Screenshot Shortcut for Windows
Press:
Windows + Shift + S
This instantly opens the Snipping Tool overlay and lets you select the exact area you want to capture.
Fastest Screenshot Shortcut for Mac
Press:
Command (⌘) + Shift + 4
Your cursor becomes a crosshair so you can select any part of the screen.
Understanding the Different Types of Screenshots You Can Take
Full-Screen Screenshots
Captures everything currently displayed on your monitor.
Best for:
- Tutorials
- Presentations
- Full-page references
Window-Specific Screenshots
Captures only one application window.
Best for:
- Software demonstrations
- Technical support
Selected Area Screenshots
Captures only the area you choose.
Best for:
- Highlighting specific content
- Cropping unnecessary information
Scrolling Screenshots
Captures content beyond the visible screen area.
Best for:
- Long webpages
- Reports
- Chat conversations
How to Screenshot on Windows Using Keyboard Shortcuts
Print Screen (PrtScn) Method
Press:
PrtScn
What happens:
- Captures the entire screen
- Copies image to clipboard
- Requires pasting into Paint, Word, or another application
Windows + Print Screen Method
Press:
Windows + PrtScn
What happens:
- Automatically saves screenshot
- Screen briefly dims
- Screenshot saved to:
Pictures > Screenshots
Alt + Print Screen Method
Press:
Alt + PrtScn
What happens:
- Captures only the active window
- Copies image to clipboard
Useful when multiple windows are open.
Windows + Shift + S Method
Press:
Windows + Shift + S
Options include:
- Rectangular Snip
- Freeform Snip
- Window Snip
- Full-Screen Snip
This is the preferred screenshot method for most Windows users.
How to Use the Windows Snipping Tool Like a Pro
Opening Snipping Tool Quickly
Press:
Windows Key
Type:
Snipping Tool
Press Enter.
Capturing Rectangular Snips
Perfect for:
- Articles
- Images
- Documents
Drag and select the area you want.
Capturing Freeform Snips
Allows you to draw around irregular shapes.
Useful when capturing unique elements.
Capturing Window Snips
Select a specific application window without capturing the rest of the desktop.
Capturing Full-Screen Snips
Captures the entire display instantly.
How to Take Delayed Screenshots on Windows
Sometimes menus disappear when you try to capture them.
Snipping Tool allows delays of:
- 3 seconds
- 5 seconds
- 10 seconds
This is useful for:
- Context menus
- Dropdown menus
- Hover effects
Where Windows Screenshots Are Saved Automatically
Most screenshots are stored in:
This PC > Pictures > Screenshots
Clipboard captures must be pasted and saved manually.
How to Screenshot on Mac Using Keyboard Shortcuts
Capture the Entire Screen
Press:
Command (⌘) + Shift + 3
The screenshot is automatically saved to the desktop.
Capture a Selected Area
Press:
Command (⌘) + Shift + 4
Then drag to select the desired area.
Capture a Specific Window
Press:
Command (⌘) + Shift + 4
Then press:
Space Bar
Click the window you want to capture.
Copy Screenshots Directly to Clipboard
Add:
Control
Example:
Command + Control + Shift + 4
The screenshot is copied instead of saved.
Using the Built-In Mac Screenshot Toolbar
Opening the Screenshot Toolbar
Press:
Command (⌘) + Shift + 5
The toolbar appears at the bottom of the screen.
Capturing Screenshots with Timer Options
Available delays:
- 5 seconds
- 10 seconds
Ideal for capturing temporary interface elements.
Recording Your Screen on Mac
The same toolbar also supports:
- Full-screen recording
- Partial-screen recording
No additional software required.
How to Take Scrolling Screenshots on Windows
Windows does not include universal scrolling screenshots for every app.
Options include:
Using Microsoft Edge
- Open webpage
- Click menu
- Select Screenshot
- Choose Capture Full Page
Using Third-Party Tools
Popular options:
- ShareX
- Greenshot
- Snagit
These tools capture entire webpages and documents.
How to Take Scrolling Screenshots on Mac
Browser-Based Solutions
Safari extensions and browser tools can capture long pages.
Screenshot Applications
Popular options include:
- CleanShot X
- Shottr
- Snagit
These provide advanced scrolling capture functionality.
Windows vs Mac Screenshot Methods Compared
Screenshot Shortcut Comparison Table
| Action | Windows | Mac |
|---|---|---|
| Full Screen | Windows + PrtScn | Cmd + Shift + 3 |
| Area Capture | Windows + Shift + S | Cmd + Shift + 4 |
| Screenshot Toolbar | Snipping Tool | Cmd + Shift + 5 |
| Window Capture | Alt + PrtScn | Cmd + Shift + 4 + Space |
| Screen Recording | Snipping Tool | Cmd + Shift + 5 |
Feature Comparison Table
| Feature | Windows | Mac |
|---|---|---|
| Built-in Capture | Yes | Yes |
| Annotation Tools | Yes | Yes |
| Screen Recording | Yes | Yes |
| Timed Capture | Yes | Yes |
| Scrolling Capture | Limited | Limited |
Editing Screenshots After Capturing Them
Best Built-In Windows Editing Tools
Paint
Allows:
- Cropping
- Drawing
- Text insertion
Snipping Tool Editor
Useful for:
- Quick annotations
- Highlights
- Markups
Best Built-In Mac Editing Tools
Preview
Supports:
- Cropping
- Drawing
- Shapes
- Signatures
Markup Tools
Add:
- Arrows
- Text boxes
- Highlights
Without third-party software.
How to Annotate Screenshots for Work, School, and Support Tickets
Good annotations help viewers understand information quickly.
Use:
- Arrows
- Highlights
- Boxes
- Labels
- Numbered steps
Avoid cluttering screenshots with excessive notes.
Best Free Screenshot Tools Beyond the Built-In Options
ShareX
Excellent for:
- Automation
- OCR
- Scrolling screenshots
Greenshot
Great for:
- Business users
- Fast annotations
Lightshot
Best for:
- Quick sharing
- Simplicity
CleanShot X
Popular among Mac professionals.
Features:
- Cloud sharing
- Better annotation tools
- Scrolling capture
Common Screenshot Problems and How to Fix Them
Print Screen Key Not Working
Possible causes:
- Keyboard remapping
- Gaming software conflicts
- Function key settings
Try:
Fn + PrtScn
if using a laptop.
Screenshots Not Saving
Check:
- Storage space
- Permissions
- Screenshot folder location
Screenshots Appearing Blank
Often caused by:
- Protected content
- DRM restrictions
- Hardware acceleration issues
Screenshot Shortcut Conflicts
Applications such as cloud storage tools may override default shortcuts.
Review keyboard shortcut settings.
Privacy and Security Tips Before Sharing Screenshots
Always check screenshots for:
- Email addresses
- Phone numbers
- Financial information
- Passwords
- Personal documents
Blur sensitive information before sharing.
Advanced Screenshot Workflows for Power Users
OCR Text Extraction from Screenshots
Modern tools can convert screenshot text into editable text.
Popular OCR tools include:
- ShareX
- Microsoft PowerToys
- Google Lens
Cloud Screenshot Sharing
Upload screenshots directly to:
- Google Drive
- OneDrive
- Dropbox
This simplifies collaboration.
Productivity Automation Tips
Power users often automate:
- File naming
- Cloud uploads
- Screenshot organization
- OCR processing
This saves significant time over the long term.
Which Screenshot Method Is Best for Your Situation?
| Situation | Recommended Method |
|---|---|
| Quick Area Capture | Windows + Shift + S / Cmd + Shift + 4 |
| Full Screen | Windows + PrtScn / Cmd + Shift + 3 |
| Screen Recording | Snipping Tool / Cmd + Shift + 5 |
| Long Webpages | ShareX or Browser Tools |
| Business Documentation | Snipping Tool or Preview |
Mastering just a few shortcuts can dramatically improve your productivity and make sharing information faster and more efficient.
Frequently Asked Questions
How do I screenshot on Windows without Print Screen?
Use:
Windows + Shift + S
This opens the Snipping Tool directly.
How do I screenshot on a Mac without using shortcuts?
Open the Screenshot Toolbar using Launchpad and use the graphical interface.
Where are screenshots saved on Windows and Mac?
Windows typically saves screenshots in:
Pictures > Screenshots
Mac saves screenshots on the Desktop by default.
Can I take a scrolling screenshot without installing software?
Yes. Some browsers, including Microsoft Edge, provide built-in full-page capture features.
How do I edit a screenshot after capturing it?
Use:
- Paint or Snipping Tool on Windows
- Preview or Markup on Mac
Why is my screenshot shortcut not working?
Possible reasons include:
- Keyboard conflicts
- Disabled shortcut settings
- Third-party software interference
What is the fastest way to capture part of a screen?
Windows:
Windows + Shift + S
Mac:
Command + Shift + 4
Both methods allow instant area selection and are the quickest options available.